Puff Pastry Shortcut Chicken Pies (Muffin-Tin Weeknight Version)
- Prep
- 30 min
- Cook
- 45 min
- Chill / rest
- 30 min
- Makes
- 12 muffin-tin pies (serves 4)
- Oven
- 200C

Ingredients
servings
Base recipe: 12 muffin-tin pies (serves 4). Scaling changes quantities only; check tin sizes and bake times.
Quick filling
- 1 tbsp neutral oil
- 350g boneless, skinless chicken thigh, 1.5cm dice
- 20g unsalted butter
- 100g onion, finely diced
- 1 garlic clove, finely chopped
- 20g plain flour
- 150ml chicken stock
- 60ml cooking cream, or evaporated milk
- 100g potato, peeled, 1cm dice
- 100g frozen mixed peas and carrots
- 1/2 tsp ground white pepper
- 1/2 tsp fine salt, plus more to taste
Pastry
- 5 ready-rolled frozen puff pastry sheets, about 24cm square, thawed in the fridge
- 10g soft butter, for greasing the tin
- 1 egg, beaten with a pinch of salt, for glazing
Method
0 of 8 steps ticked
01 Thaw the pastry the right way
Move the puff pastry sheets from the freezer to the fridge in the morning, or at least 2-3 hours before cooking, still in their packaging. Thawing in the fridge keeps the butter layers firm; thawing on a warm counter makes the sheets sweat and stick.
02 Cook the quick filling
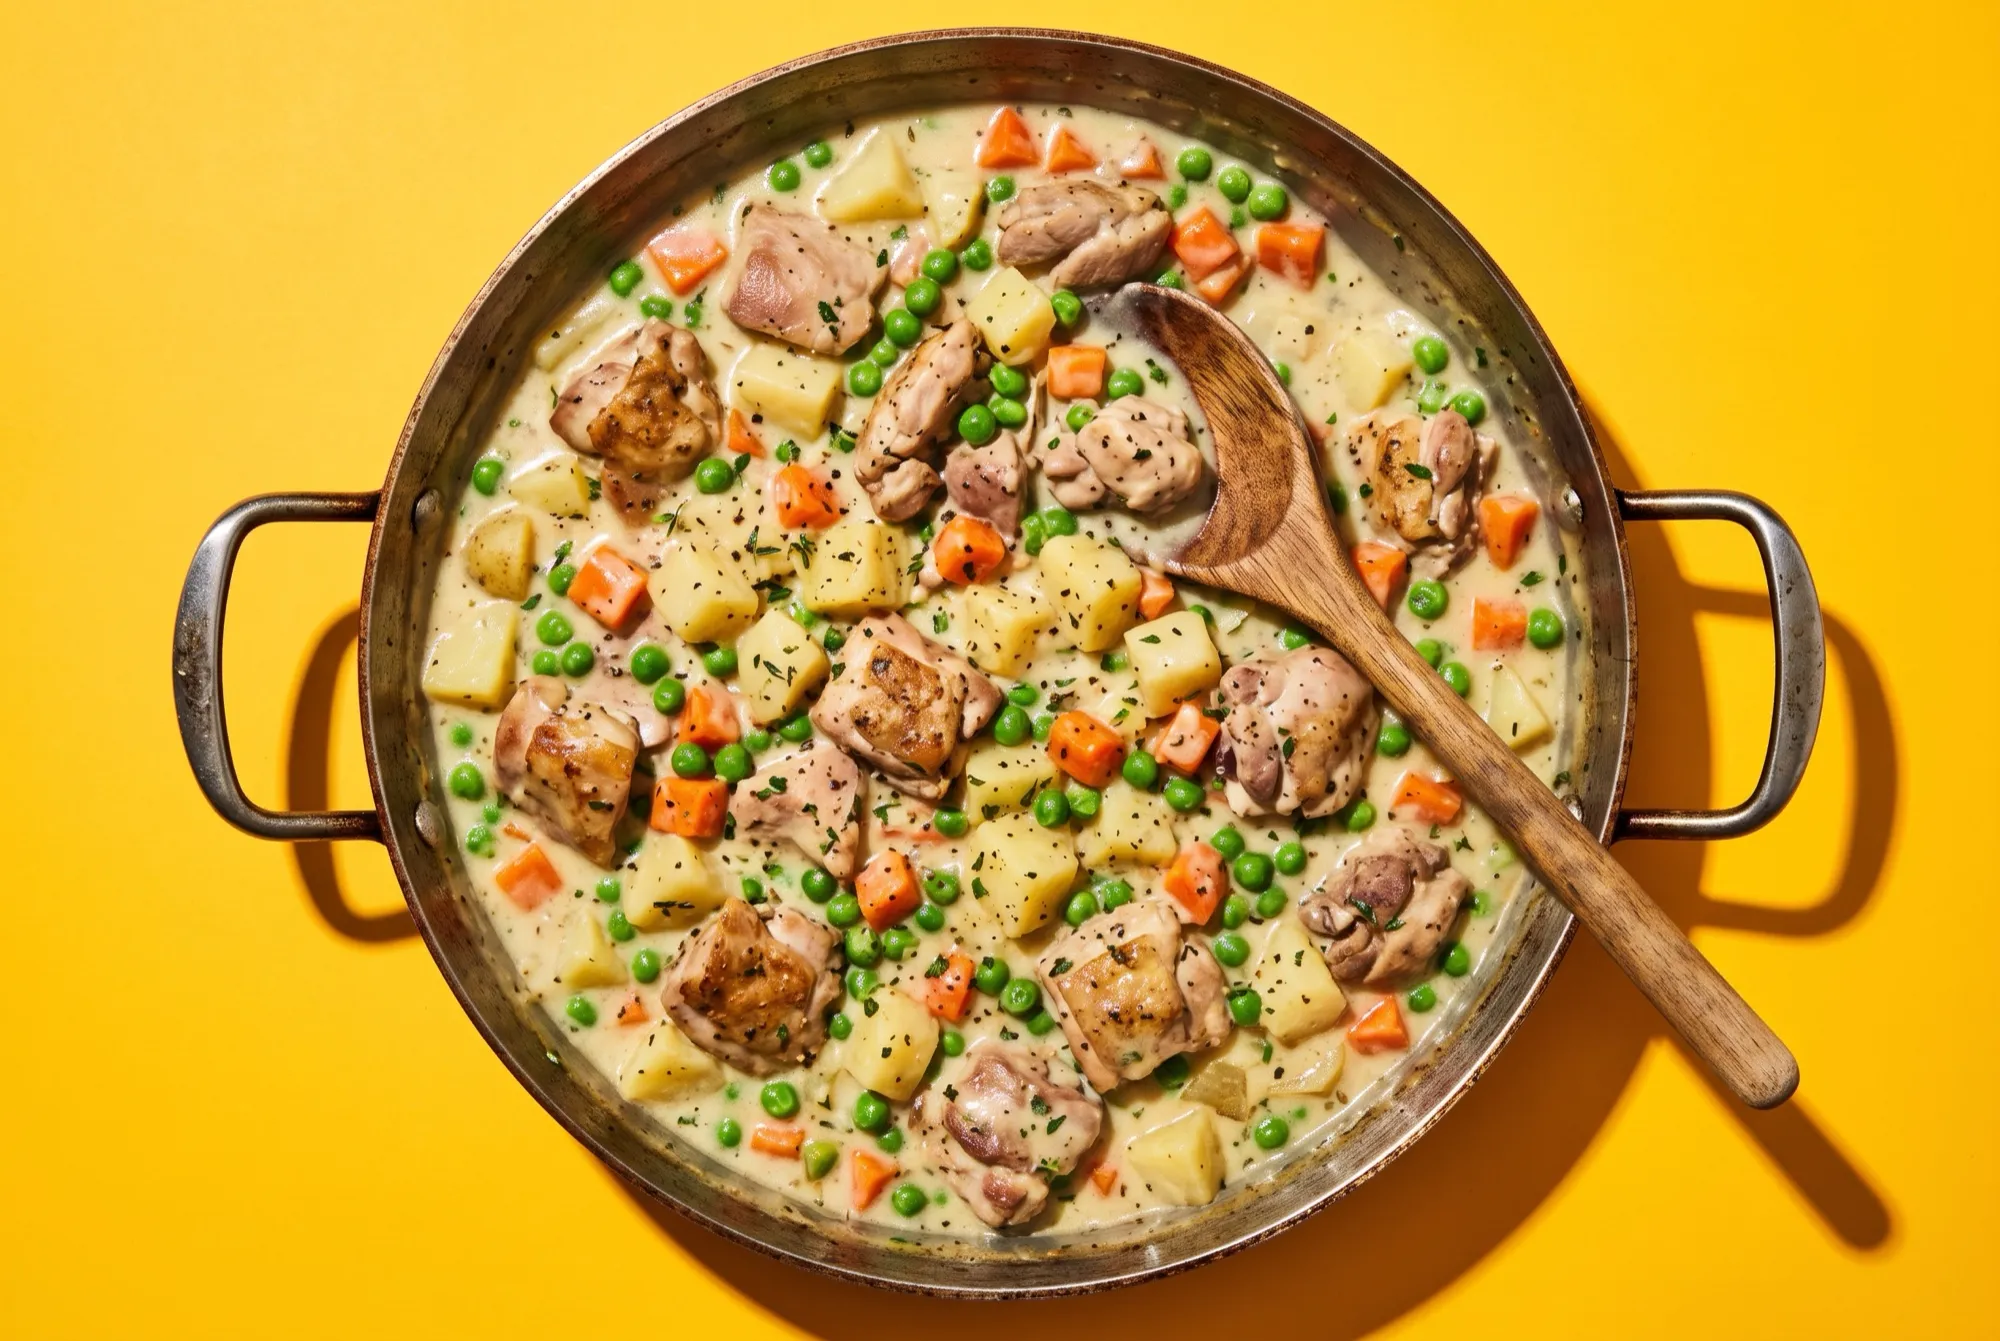
Heat the oil in a wide pan over medium-high heat and cook the chicken for 3 minutes until lightly coloured. Add the butter and onion and cook for 4-5 minutes until the onion softens, then the garlic for 30 seconds. Stir in the flour for 1-2 minutes. Gradually stir in the stock, then the cream, and add the potato, white pepper and salt. Simmer gently for 10-12 minutes, stirring often, until the potato is tender and the chicken reaches 75C at the centre of the thickest piece. Stir in the peas and carrots for 2 minutes and taste for seasoning.
03 Cool the filling quickly
Spread the filling thinly on a large metal tray. Leave it for about 10 minutes until it stops steaming, then refrigerate, uncovered, for 20-30 minutes until cold to the touch. Meanwhile heat the oven to 200C with a baking tray on the lower shelf.
04 Cut the pastry squares
Grease a 12-hole muffin tin. Working with one sheet at a time and keeping the rest in the fridge, cut 12 squares of about 11cm for the bases (four per sheet, from three sheets) and 12 squares of about 8cm for the lids (nine per sheet, from two sheets).
05 Line the tin
Press a large square into each hole so it lines the base and sides, with the corners standing up above the rim. Prick each base three or four times with a fork. If the pastry has gone soft, put the tin in the fridge for 10 minutes.
06 Fill and top
Spoon about 2 heaped tablespoons of cold filling into each case, filling to just below the rim. Brush the pastry corners with water, lay a small square on top, and fold the corners in over the lid, pressing to seal. Cut a small slit in each lid for steam and brush all the tops with egg wash.
07 Bake until deep golden
Set the muffin tin on the hot tray and bake at 200C for 22-25 minutes, until the pastry is puffed and deep golden and a pie lifted with a knife shows a golden base. The filling should be piping hot, 75C at the centre if you have a probe thermometer. If the tops brown too fast, lay a sheet of foil loosely over them for the last 5 minutes.
08 Rest and lift out
Leave the pies in the tin for 5 minutes, then run a thin knife round each one and lift them out onto a rack. Serve warm. Refrigerate any leftovers within 2 hours.
Kitchen-nerd tips
- Check the pastry label. All-butter puff tastes richer; puff made with vegetable fat is more forgiving in a hot kitchen. Both work.
- Cut with a sharp knife pressed straight down. Dragging a blunt knife squashes the edges and stops them puffing.
- Pastry offcuts can be twisted, sprinkled with cheese and baked alongside for 10-12 minutes as a cook's snack.
- Any cold leftover pie filling works here, including our make-ahead creamy filling.
Is shop-bought puff pastry really good enough?
Shop-bought puff pastry is one of the few convenience products that professional kitchens use without embarrassment. Making true puff at home means wrapping a slab of butter in dough and folding it over and over, with long chills in between. That is a weekend project. A box of frozen sheets from the supermarket freezer gets you most of the way there on a Tuesday.
The one thing worth checking is the fat. Some puff pastry is made with butter, some with vegetable fat or margarine. All-butter puff tastes richer and browns a little faster. Vegetable-fat puff holds up better in a warm kitchen and puffs reliably. Both make a good pie. Pick by taste and by how hot your kitchen gets. Prefer one big pie to a tray of little ones? There is a flat weeknight pie with bought puff over at ovenmarvel.com, with a peppery thigh filling and a freezer chill.
Why thaw puff pastry in the fridge, not on the counter?
Puff pastry rises because hundreds of thin layers of fat separate hundreds of thin layers of dough. In the oven, the water in the dough turns to steam and pushes the layers apart, while the fat keeps them from gluing back together. When the sheets thaw on a warm counter in Singapore, the fat softens, the surface sweats, and neighbouring layers start to merge. The pastry still bakes, but it rises less and tears more easily when you handle it.
Thawing in the fridge keeps the fat firm. Working one sheet at a time and returning the rest to the fridge does the same job during assembly. If a sheet goes floppy while you cut, put it back for 10 minutes. That pause costs less time than fighting a sticky sheet.
Why a muffin tin?
A muffin tin solves three weeknight problems at once:
- Support. The metal walls hold the pastry up while it bakes, so the pies keep their shape even with a soft, creamy filling.
- Speed. Small pies bake through in about 25 minutes. A family-size pie needs nearly twice as long.
- Portions. Every pie gets its own crisp edges, and leftovers are already portioned for the fridge or a lunchbox.
The corners of the base squares standing up above the rim are not just for looks. Folding them in over the lid seals the pie and gives each one a crimped, layered top that shatters nicely.
Do you really need to cool the filling on a weeknight?
Yes, though you do not need to cool it overnight. Hot filling melts the fat in raw puff pastry before the oven can set the layers, and the steam soaks the base. The quick method here is the compromise: spread the filling thin on a metal tray, let the steam escape, then give it 20-30 minutes in the fridge. A thin layer cools far faster than a pot. This also keeps cooked chicken out of the warm zone, which matters in a Singapore kitchen where nothing cools quickly on the counter. If you have a day’s notice, our make-ahead creamy chicken pie filling is the most relaxed route of all.
How do you stop a soggy bottom in puff pastry pies?
Puff pastry on the base is the weak spot. Four habits fix most of it:
- Prick the base with a fork so trapped steam can escape rather than lifting the filling.
- Bake on a preheated tray on the lower shelf, so the base gets a blast of heat from below.
- Fill with cold, thick filling, never warm or runny.
- Do not overfill. Filling that bubbles over the rim runs down the sides and glues the pie to the tin.
What can you swap?
- Rotisserie chicken: shred about 300g of meat and skip the browning. Make the sauce first, add the chicken with the peas and simmer until bubbling and piping hot.
- Curry version: add 1 tbsp meat curry powder to the onions. If you are torn between the two snacks, our chicken pie vs curry puff breakdown explains how they differ.
- Shortcrust bases: line the tin with shortcrust and use puff only for the lids. The base comes out sturdier, the top stays flaky.
- Mixed vegetables: any frozen mix of small diced vegetables works in place of the peas and carrots.
Can you make these ahead or freeze them?
| Option | How | How long |
|---|---|---|
| Filling only | Cook, cool fast, refrigerate | Up to 2 days |
| Unbaked pies | Assemble without egg wash, freeze in the tin until solid, then bag airtight | About 3 months; bake from frozen at 200C for 28-32 minutes |
| Baked pies | Cool on a rack, refrigerate within 2 hours | Up to 3 days |
| Baked pies, frozen | Fully cooled, wrapped airtight | About 3 months; thaw in the fridge |
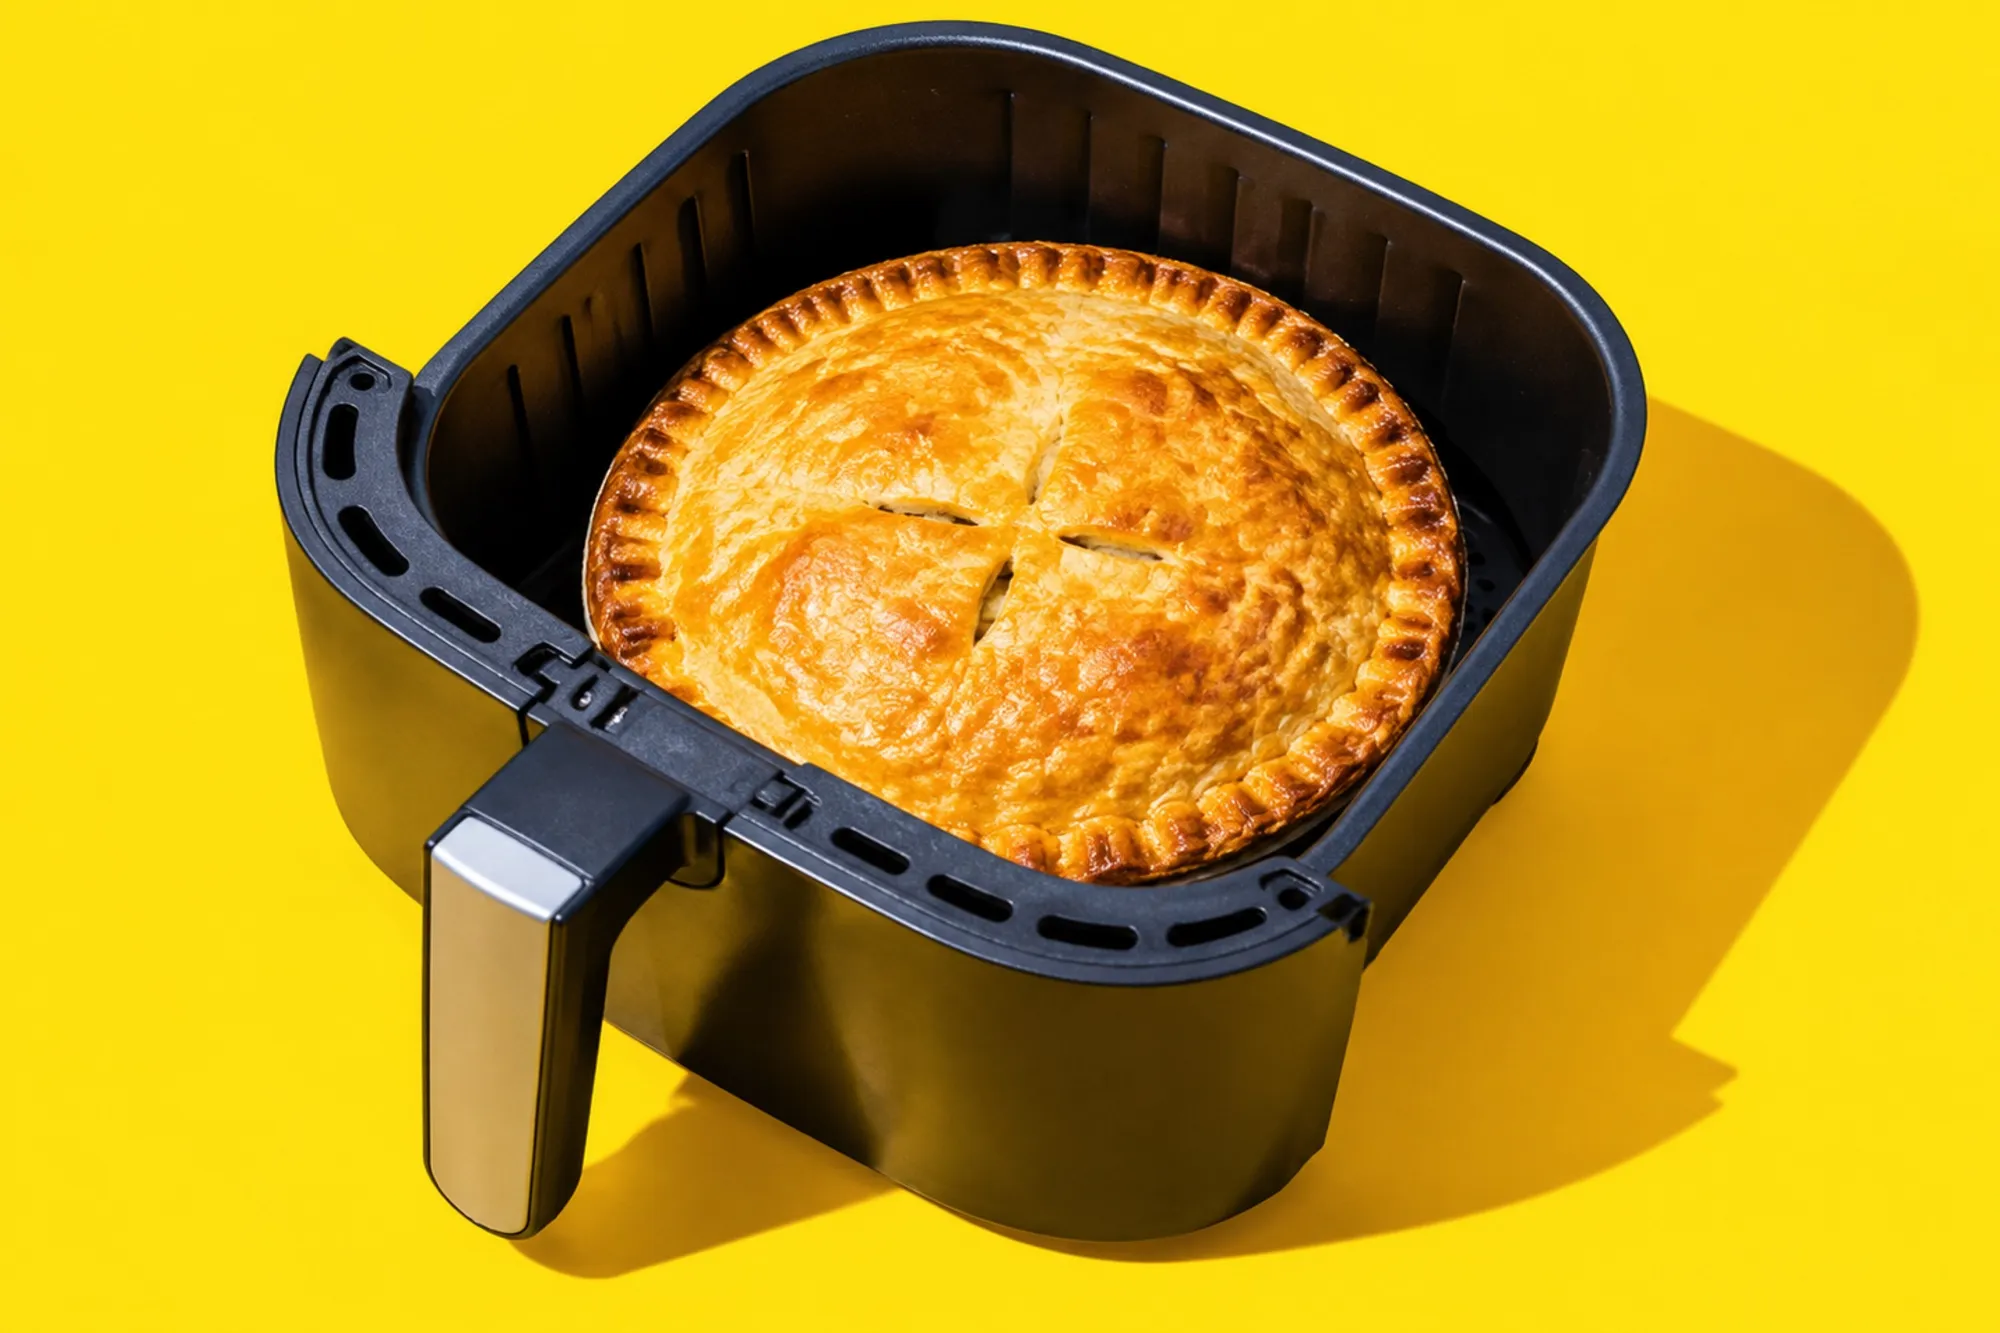
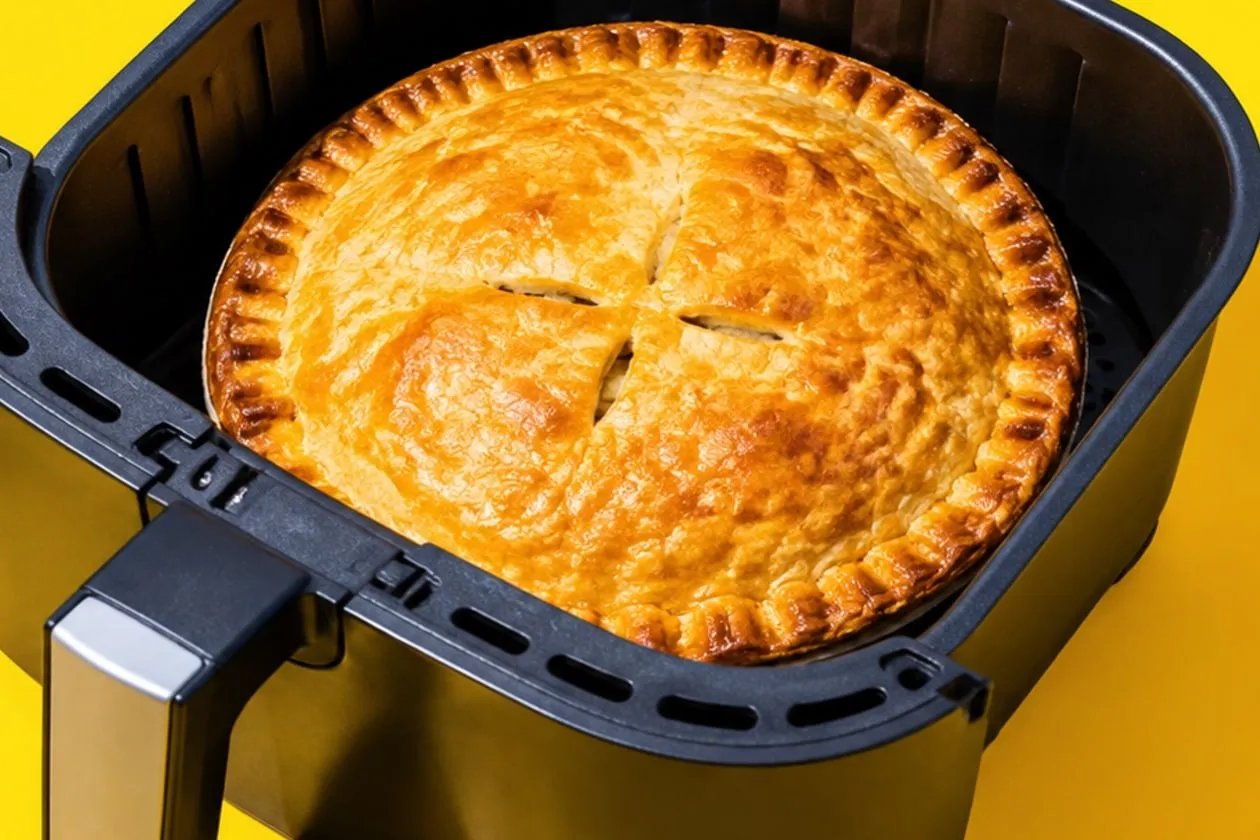
Put frozen unbaked pies back into the muffin tin to bake so they keep their shape, and check the centre is piping hot, 75C if you have a probe. To bring baked pies back to life, an oven or air fryer beats the microwave for crispness: our chicken pie reheat calculator has the times and temperatures, and the air fryer chicken pie settings experiment shows what happens to the crust.
Troubleshooting
| Problem | Likely cause | Fix |
|---|---|---|
| Pastry did not puff | Sheets thawed warm, or edges squashed | Thaw in the fridge; cut with a sharp knife straight down |
| Pale, soft base | Warm filling, no hot tray | Chill the filling; bake on a preheated tray, lower shelf |
| Pies stuck in the tin | Filling leaked, or tin not greased | Grease well; fill below the rim; seal the corners |
| Tops too dark, centre not hot | Oven runs hot, or the pies started frozen | Tent with foil and keep baking until the centre is piping hot |
| Filling dry | Simmered too long | Loosen with a splash of stock before cooling |
This recipe belongs to our chicken pie recipes from a Singapore home kitchen. Curious about the pie that started it all? Read the complete Don chicken pie guide, or explore chicken pie anatomy layer by layer.